Help > Email Tracker Setup
- Introduction
- Configure Office 365
- Configure DNS
- Setup Email Client
- Setup User Signatures
- Setup Promo Blocks
- Email Attachments
- Analytics Reports
Introduction
The EmailTracker feature allows your organization to track view analytics of emails, while staying inside your email program such as Outlook. Rather than tracking email analytics only on a marketing campaign, EmailTracker allows you to track analytics on individual emails and every message in a conversation, from any device, and using any email program.
In addition to email analytics, EmailTracker allows your organization to manage signature blocks for all your users and append promotional content to the end of all outbound emails.
Configure SMTP
In order for the system to track emails, you must first configure your email platform to relay outbound emails through EmailTracker. EmailTracker appends analytics logic, signatures, and promotional content, then passes the email along to its destination. EmailTracker will only store from, to, cc, bcc, subject, and date fields from your email. It will also host your email attachments, in order to track views and downloads of those attachments.
Configure Office 365 Email
- Login to https://portal.office.com as the account administrator
- Navigate to Admin > Exchange
- Once in the "Exchange Admin Center", navigate to the mail flow menu
Create Outbound Connector
- In "Mail Flow", choose the Connectors tab
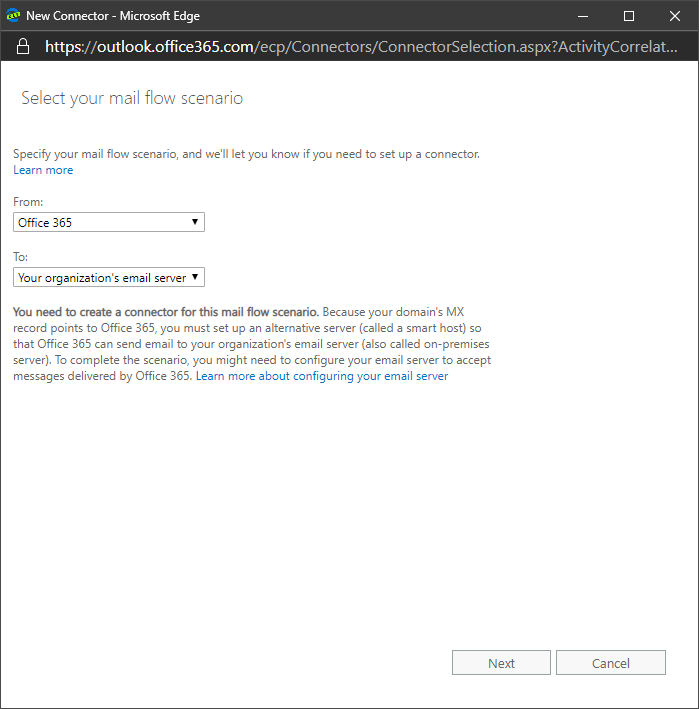
- Click the + button to create a new connector. In this step, we will create an outbound connector to route emails from O365 to EmailTracker.
-
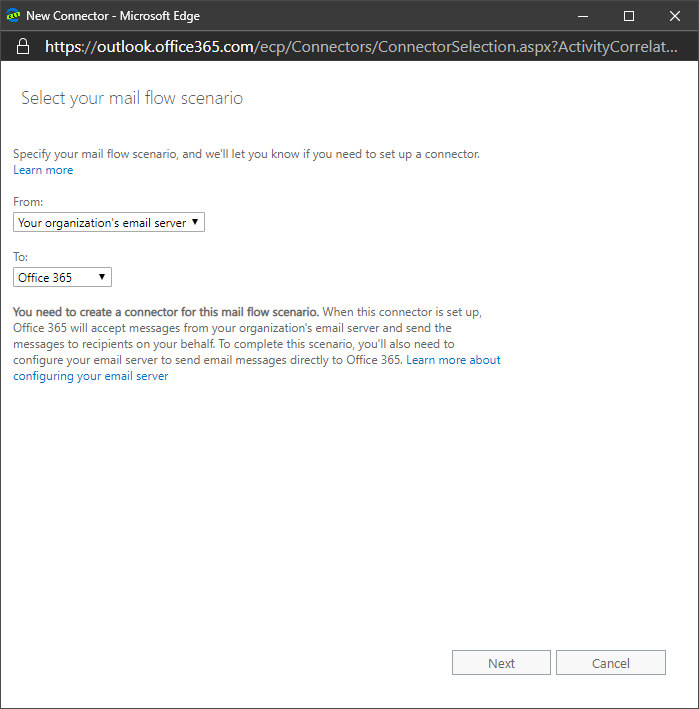
Select from Office 365 to Your organization's email server.
-
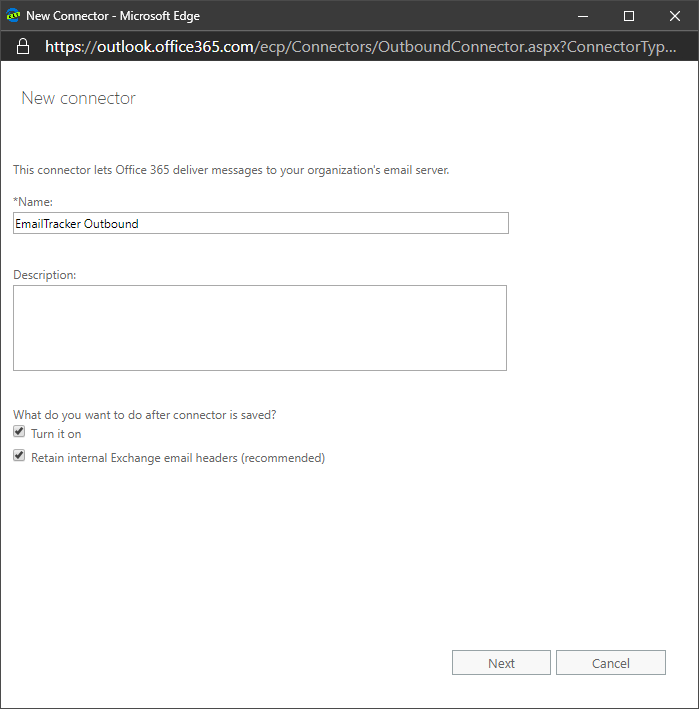
Name the connector EmailTracker Outbound. Choose turn it on and Retain internal Exchange email headers.
-
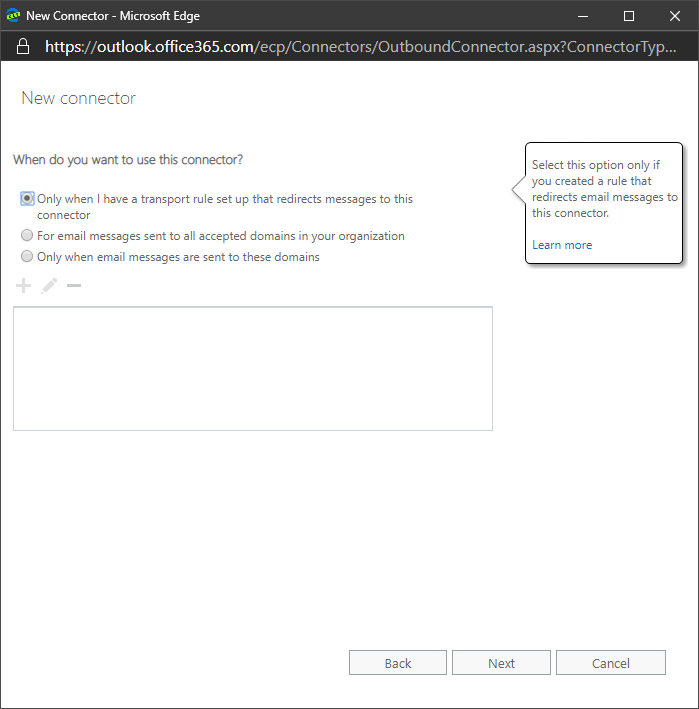
Choose only when I have a transport rule set up that redirects messages to this connector. Doing so will ensure only emails you specifically configure to be sent through EmailTracker will go through the system.
-
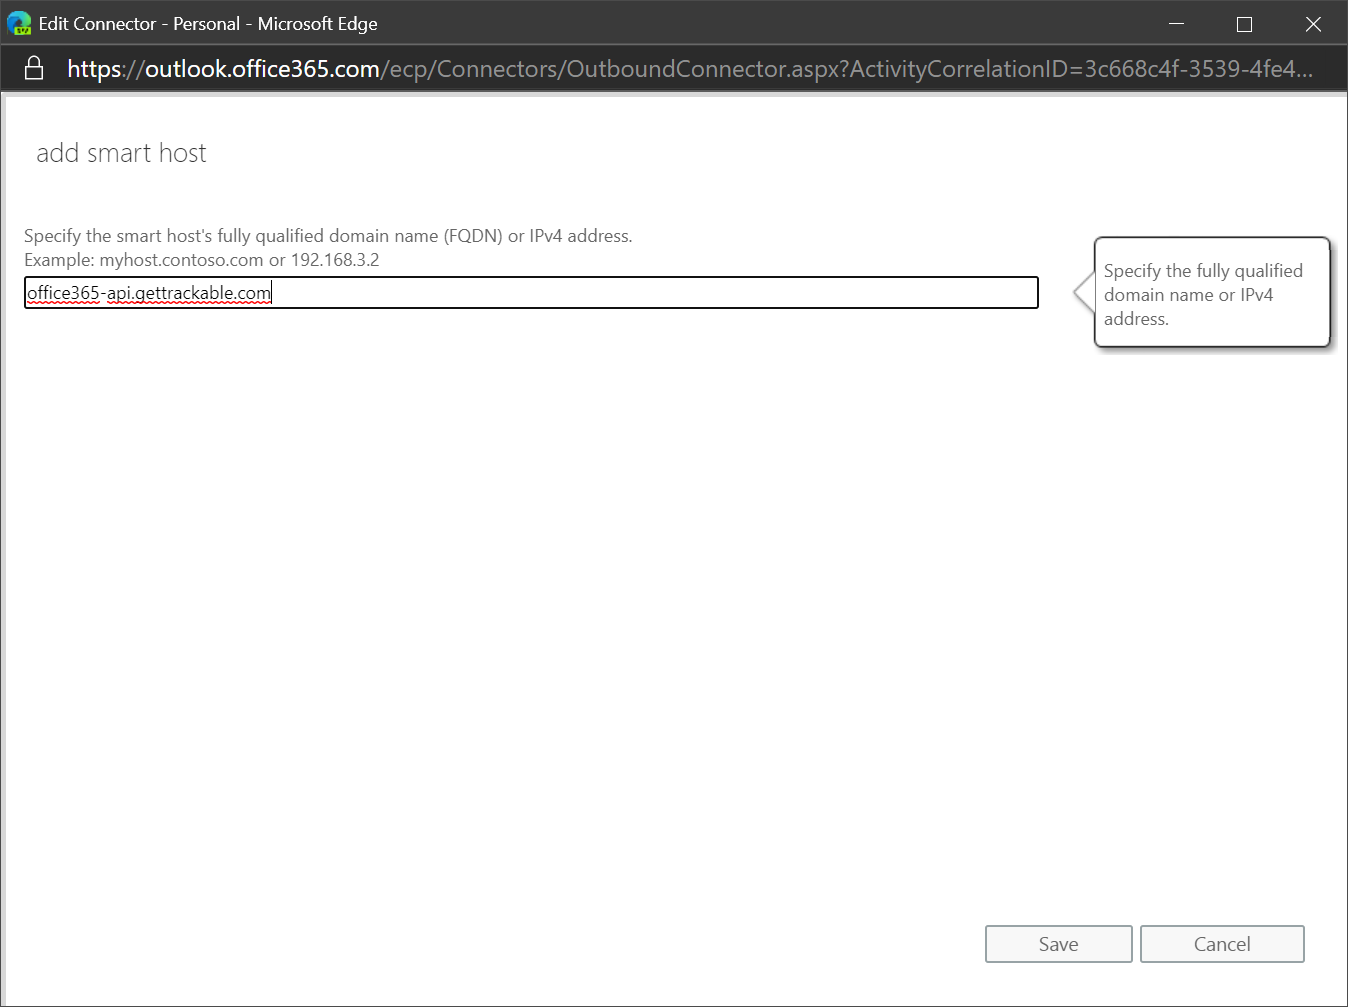
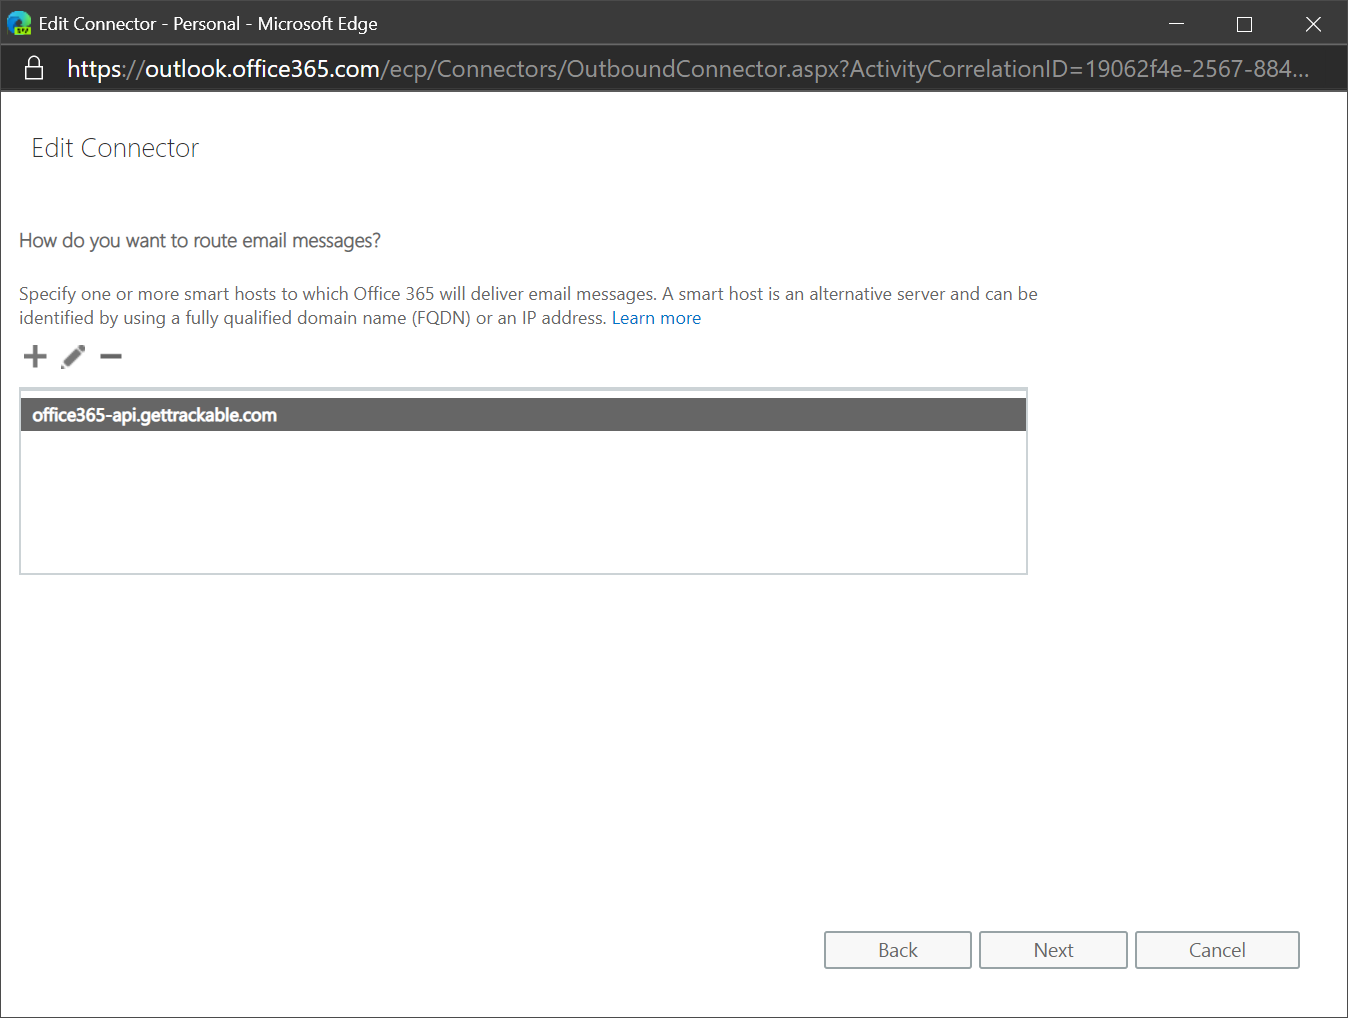
Enter office365-api.gettrackable.com as the smart host name.
-
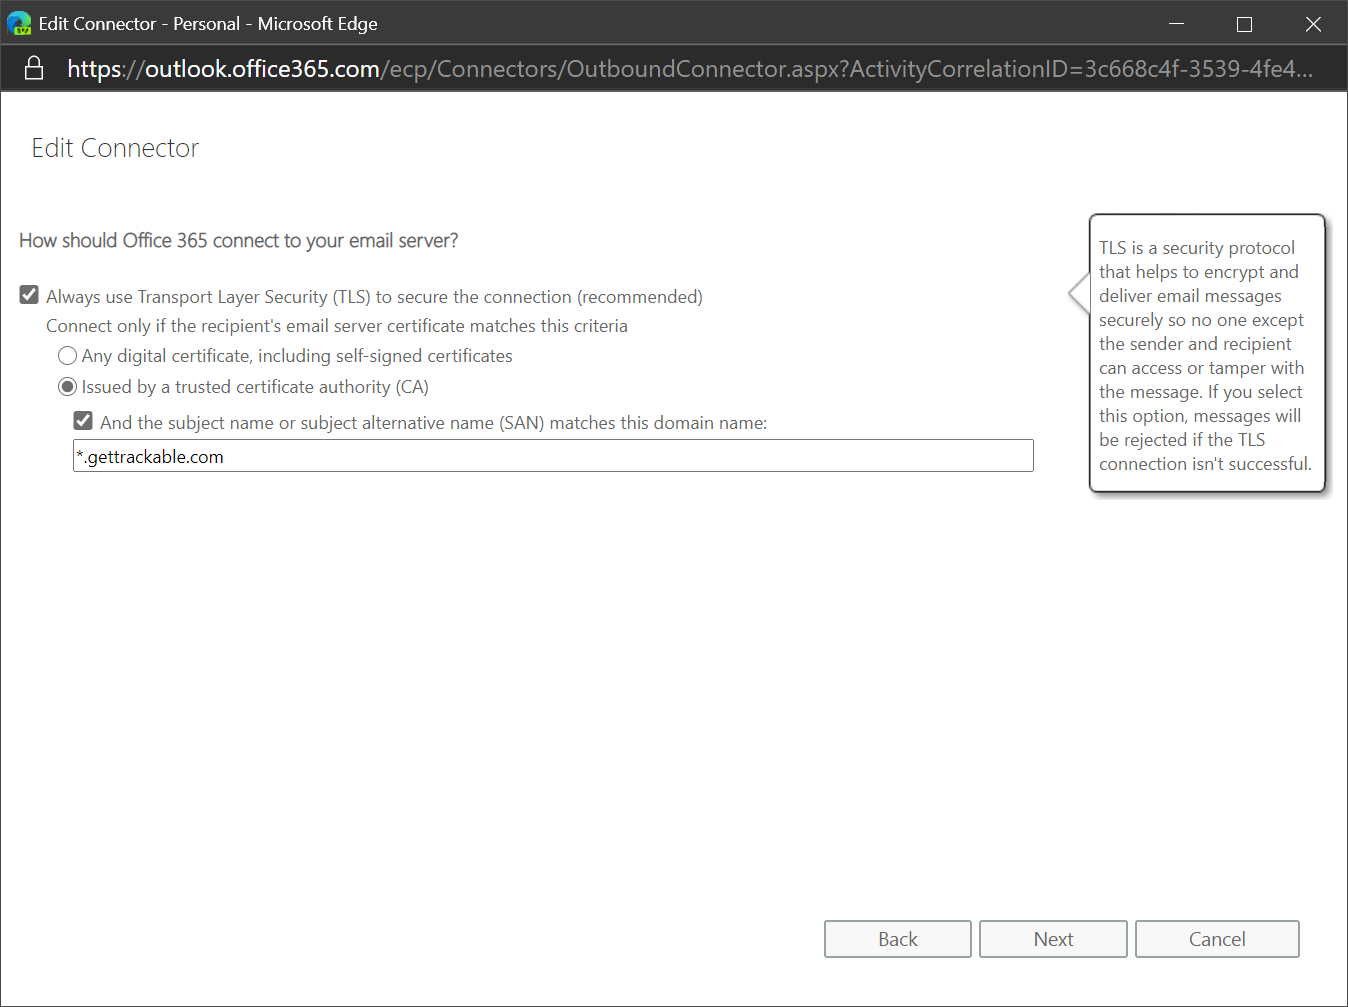
Choose Always use Transport Layer Security (TLS) and issued by a trusted certificate authority (CA)
-
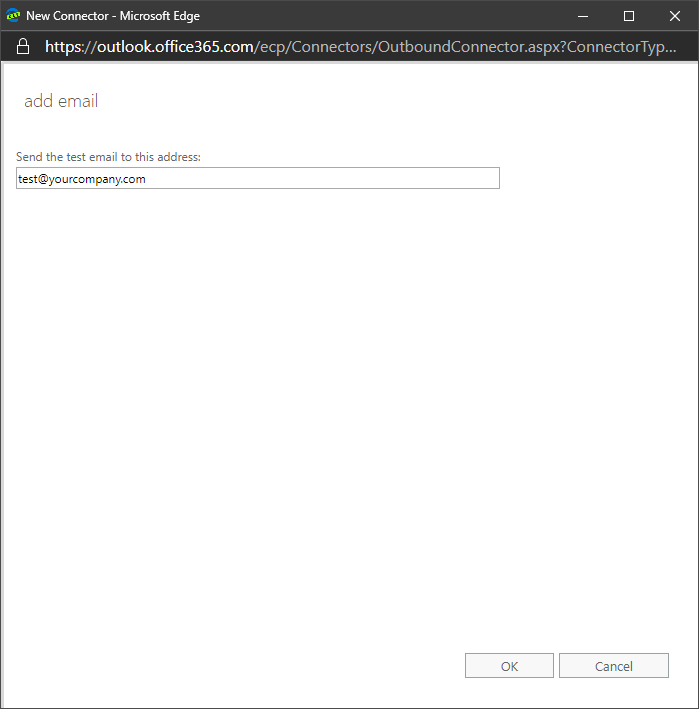
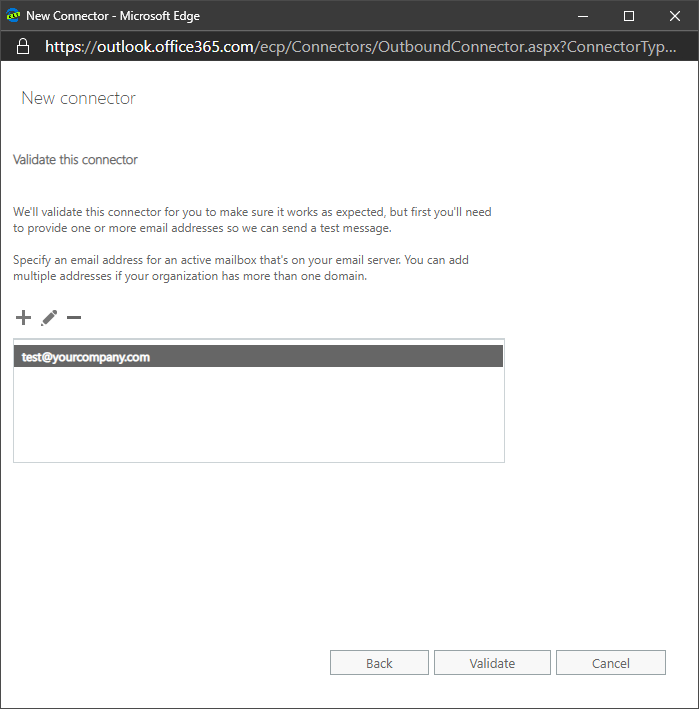
Finally, enter a test email address to validate the connector works properly, and then save the connector settings.
Create Receive Connector
Next, we are going to create the connector that receives the tracked emails from EmailTracker and sends them along to their final recipients. From the mail flow > connectors tab again, press the + new button to create another connector
-
Choose from Your organization's email server to Office 365.
-
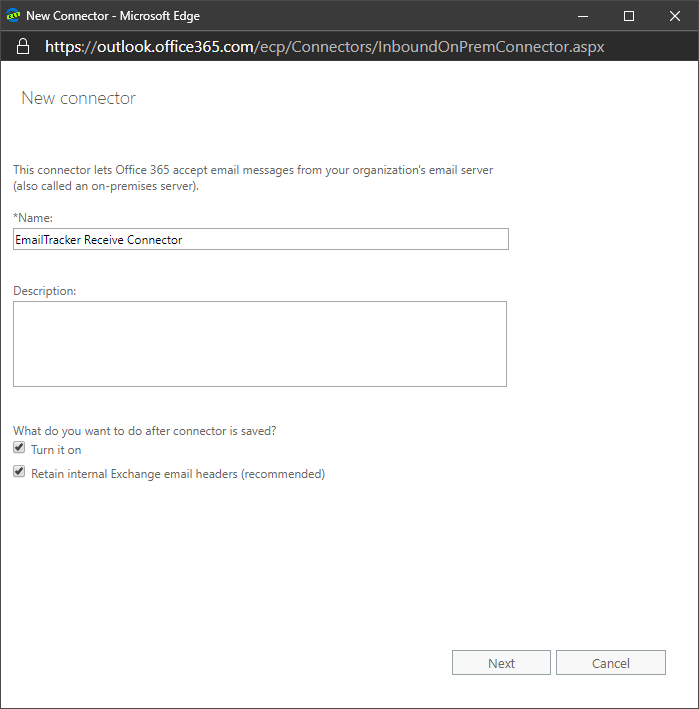
Name the connector EmailTracker Receive Connector and choose turn it on and retain internal Exchange email headers.
-
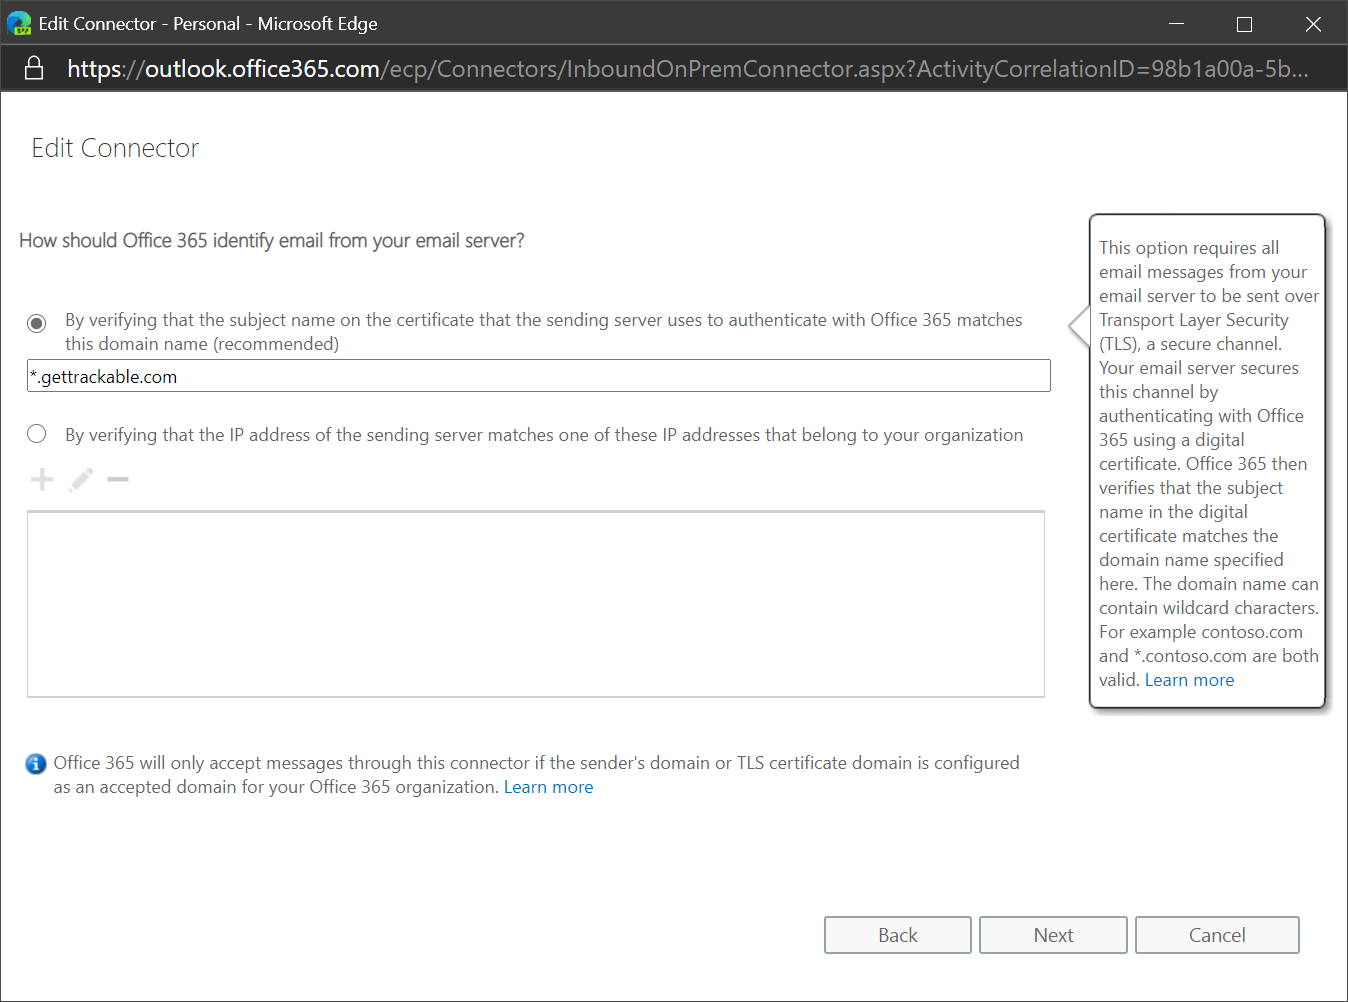
Choose by verifying that the subject name on the certificate that the sending server uses to authenticate with Office 365 matches this domain name is set to GetTrackable.com then save the connector settings.
Create Email Routing Rule
The last step of configuring EmailTracker for Office 365 is to create the email routing rule.
Before creating the rule, you'll need to lookup your EmailTracker Key. Inside GetTrackable, navigate to Admin> Settings, go to the Email Tracking tab, and find your EmailTracker Key. You'll need this in the step down below.
In 'mail flow', select the 'rules' tab.
- From mail flow > rules, press the + new button to create a new rule
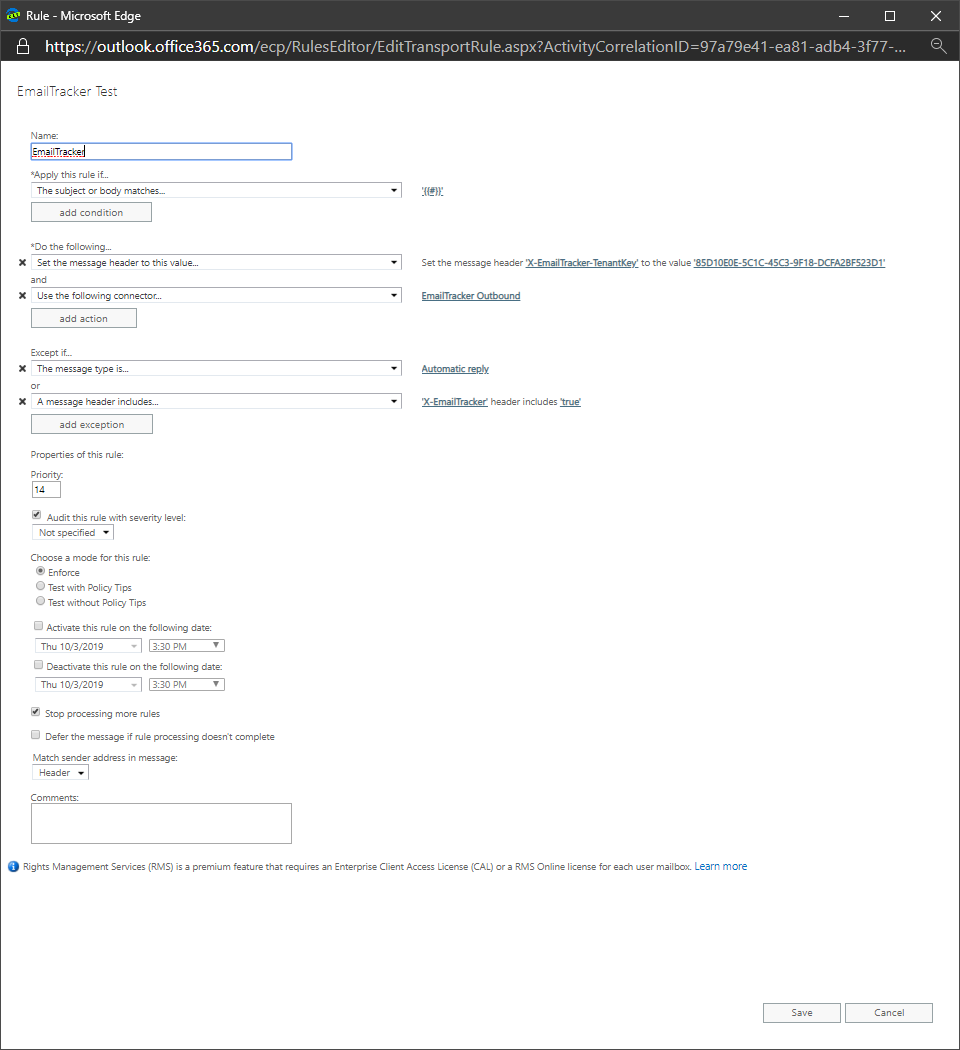
- Give the rule a name of EmailTracker
- Apply the rule only if subject or body matches {{#}}
- Set the message header X-EmailTracker-TenantKey to the value to the EmailTracker Key found above
- Use the connector called EmailTracker Outbound
- Except if the message type is automatic reply
- Or the message header X-EmailTracker includes true
-
The rest of the settings should remain as their default values as shown in this image.
Configure DNS
We need the following DNS entries configured on your domain to help with whitelisting images and attachments.
CNAME: gettrackable."your_email_domain".com POINTS TO gettrackable.azurewebsites.net
Setup Email Client
Inside Outlook, or your email program of choice, set up your email signature to include {{#}}...{{#}} pattern. EmailTracker looks for the two {{#}} symbols and replaces them and everything between them with the email signature and promo content.
As an example, a user may set the following as their default email signature in Outlook.
{{#}}
Joe Smith
Representative, Acme Co.
555-555-1234
{{#}}
We recommend placing "normal" looking signature content between the {{#}} symbols. In the event your email configuration causes it to not pass through EmailRouter, the signature will at least have this content.
In the event you want to send an email without passing it throuhg EmailRouter, for example if a recipient won't accept email attachments from a third-party, then simply remove the {{#}}...{{#}} signature block from your email.
Setup User Signature Blocks
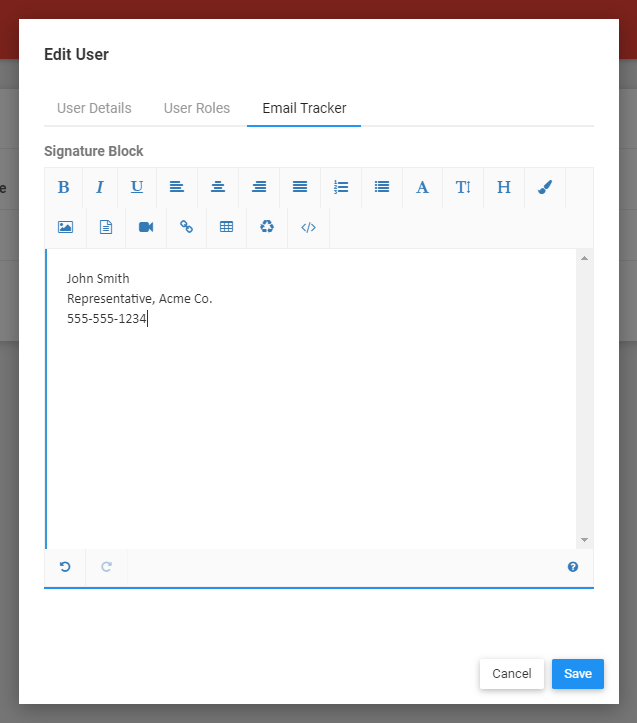
As a system administrator, you can centrally manage all your user's email signatures. Navigate to Admin> Users. When editing a user, navigate to the Email Tracker tab and edit the Signature Block field.
Setup Promotional Block
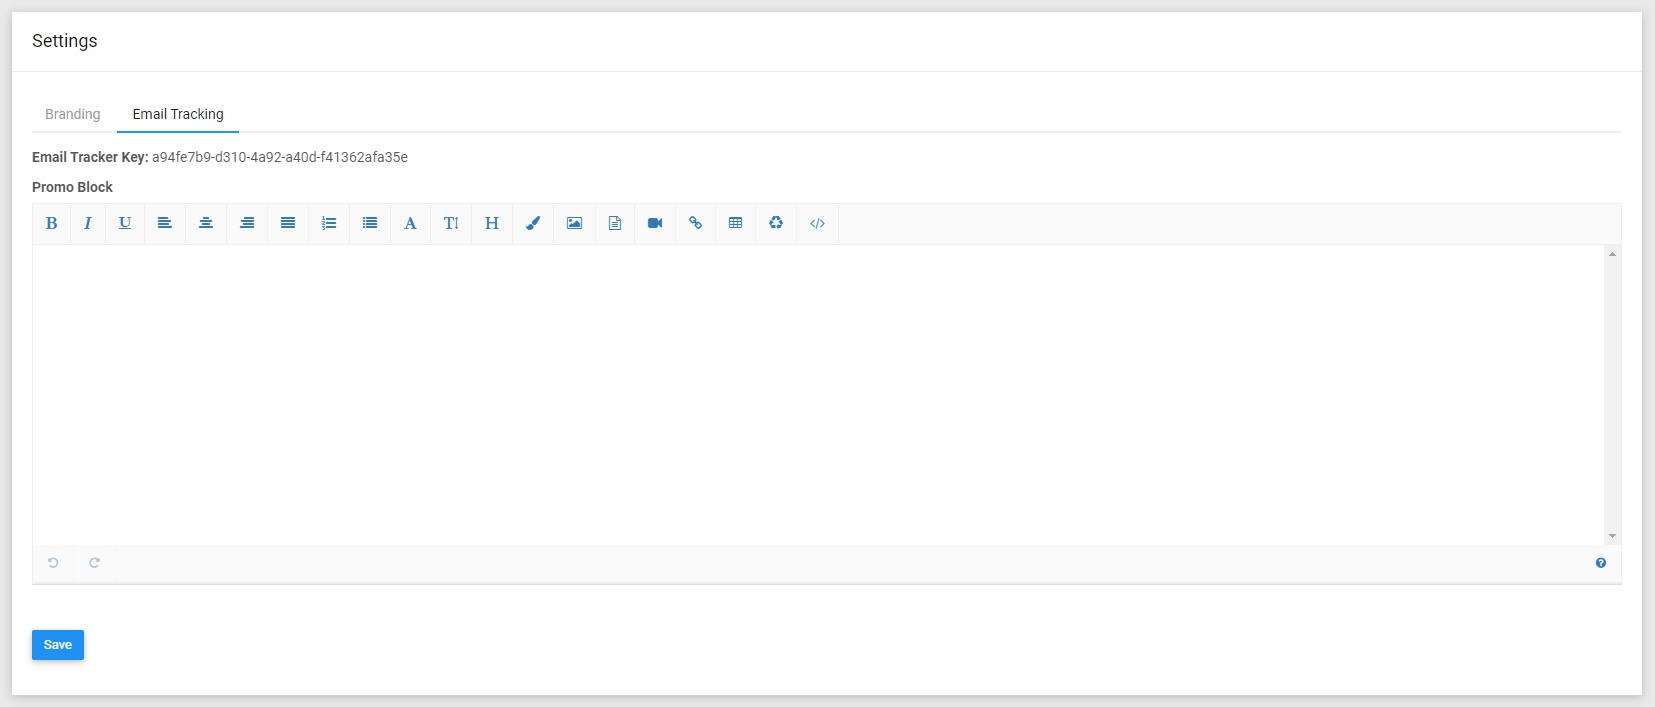
As a system administrator, you can configure promotional content that will appear below every user's email signature. To manage this content, navigate to Admin> Settings and select the Email Tracker tab. There, edit the Promo Block field.
Attachment Downloads
EmailTracker will host attachments in a private storage location for your account, and replaced with a trackable link in the emails. Whenever a recipient downloads an attachment, EmailTracker will keep track of the number of downloads.
Reports
View email analytics reports on the EmailTracker dashboard. The analytics will show the number of times the email was opened, the number of times any link in the email was clicked, and the number of times an attachment was downloaded. EmailTracker will replace every link in your email with a trackable link for analytics purposes, including links in your email signature or promo content.